Are you wondering how to program a garage door opener with a Sears remote? Well, look no further! We’ve got you covered with an easy step-by-step guide that even a 13-year-old can follow. So, let’s dive right in and get your garage door opener up and running in no time!
Picture this: you’re coming home after a long day, and instead of struggling with manually opening your garage door, you simply press a button on your remote, and voila! The door glides open effortlessly. Sounds pretty cool, right? Programming your garage door opener with a Sears remote is like having your very own magic wand to command your garage door. And don’t worry, it’s not rocket science – we’ll walk you through the process in simple and easy-to-understand terms.
In this guide, we’ll cover everything you need to know, from identifying the type of garage door opener you have to the step-by-step instructions for programming your Sears remote. By the end, you’ll be a pro at programming your garage door opener, impressing your friends and family with your newfound wizard-like skills. So, let’s get ready to unlock the secrets of programming a garage door opener with a Sears remote!
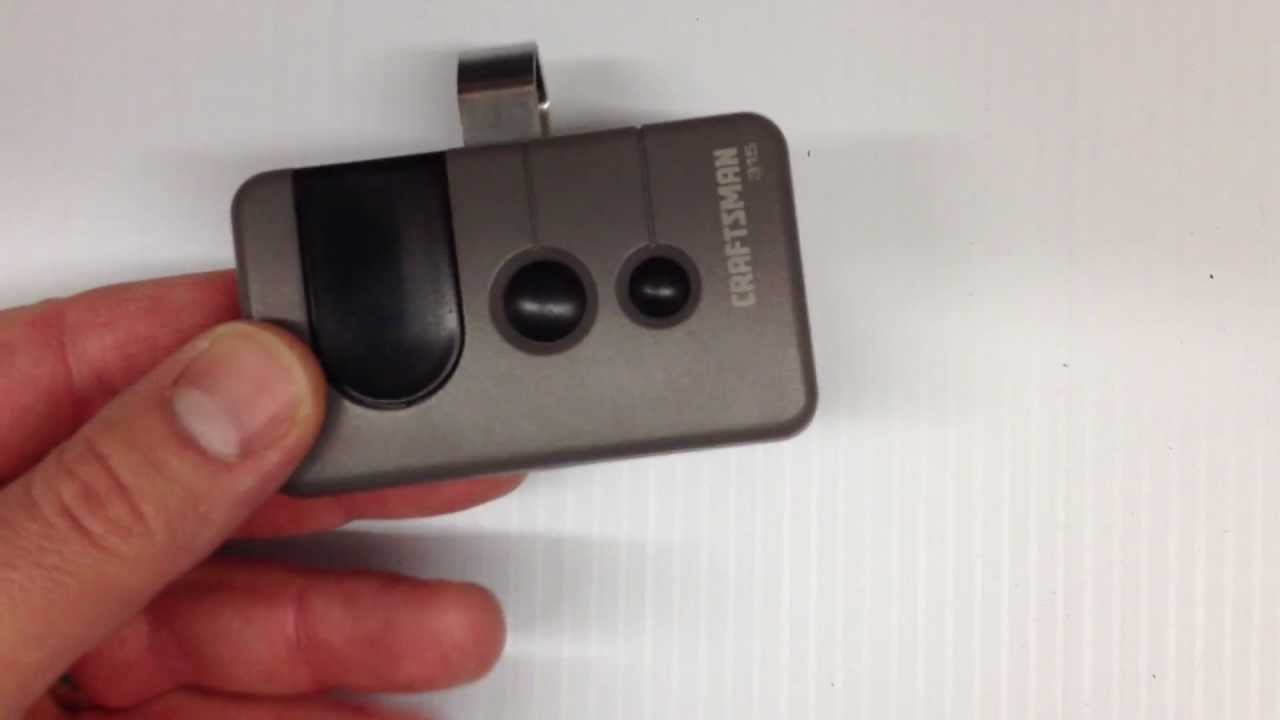
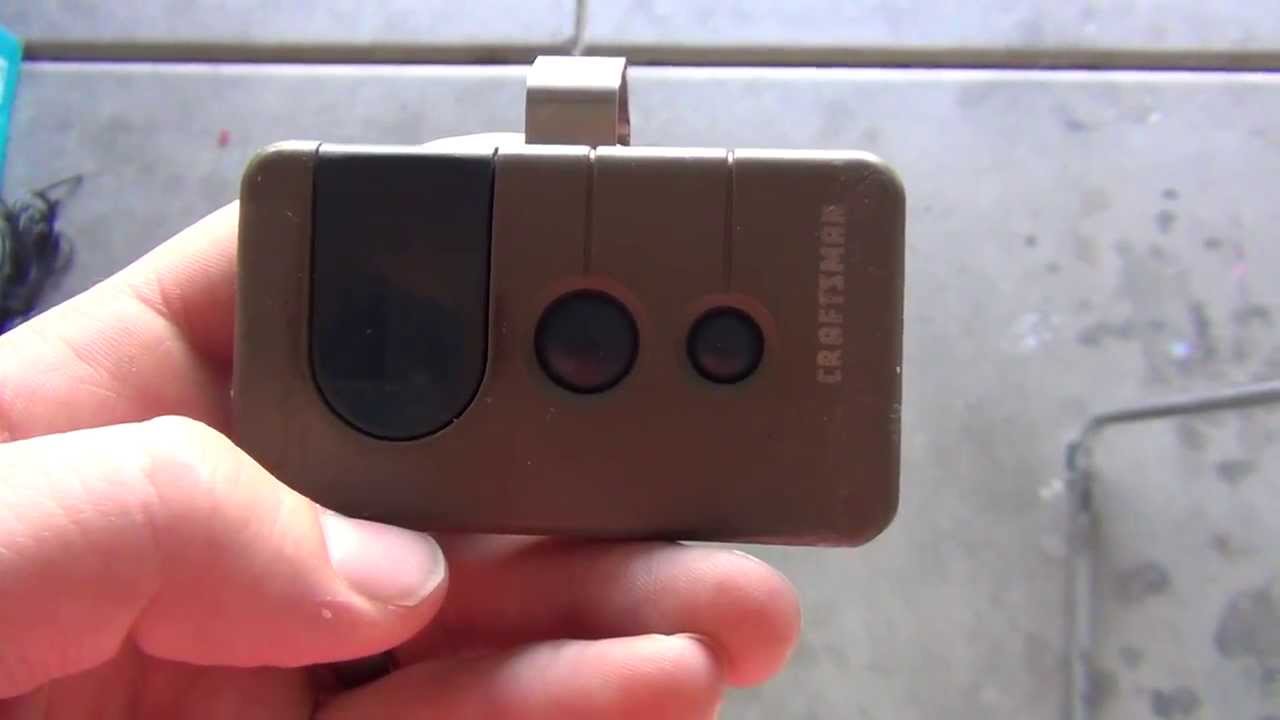
- Locate the “Learn” button on your garage door opener.
- Press and hold the “Learn” button until the indicator light turns on.
- Within 30 seconds, press and release the button on your Sears remote that you want to program.
- Wait for the indicator light on the garage door opener to flash or hear a click to confirm the programming.
- Test the remote by pressing the programmed button to see if it opens or closes the garage door.
How to Program a Garage Door Opener with a Sears Remote?
Welcome to our comprehensive guide on programming a garage door opener with a Sears remote. Whether you’ve just bought a new remote or are replacing an existing one, programming it correctly is crucial for smooth operation. In this article, we will walk you through the step-by-step process of programming your garage door opener using a Sears remote. You’ll also find valuable tips and troubleshooting advice along the way. Let’s get started!
Why Programming Your Garage Door Opener is Important?
Programming your garage door opener with a Sears remote is vital for ensuring seamless functionality and enhanced security. By programming the remote correctly, you can control the opening and closing of your garage door with ease, providing convenience and peace of mind. Additionally, programming allows you to sync your remote with the opener’s specific frequency, preventing interference with neighboring garage doors. With the ability to program your Sears remote, you can also set up additional features like wireless keypads, keyless entry systems, and more. So, let’s dive into the step-by-step process of programming a garage door opener with a Sears remote.
Step 1: Locate the Learn Button on Your Garage Door Opener
The first step in programming your garage door opener with a Sears remote is to find the learn button located on the opener itself. This button is usually near the antenna wire and may be labeled as “Learn” or “Program.” Once you’ve located the button, make sure it is easily accessible and not obstructed by any objects. It’s important to note that the placement of the Learn button may vary depending on the manufacturer and model of your garage door opener.
Once you’ve located the Learn button, press and release it. Depending on your opener model, you may need to hold the button for a few seconds until the indicator light on the opener starts to blink. This blinking light signifies that the opener is in programming mode and ready to receive the signal from the remote.
If you’re having trouble finding the Learn button or it’s not functioning correctly, refer to your garage door opener’s manual or contact the manufacturer for assistance.
Step 2: Program the Remote with the Learn Button
Now that your garage door opener is in programming mode, it’s time to sync your Sears remote with the opener. Take your Sears remote and press and release the button that you want to program. This button is usually located on the front or side of the remote and may be labeled as “Program,” “Learn,” or have a symbol indicating its purpose.
Once you’ve pressed the programming button on the remote, the indicator light on the opener should stop blinking and become steady. This indicates that the remote has been successfully programmed and synced with the opener. You may hear a click or receive a visual confirmation on the opener itself.
Next, test the remote by pressing the programmed button. The garage door should respond accordingly, either opening or closing. If the door doesn’t react or behaves erratically, repeat the programming process from step 1. It’s important to follow the specific instructions provided by your garage door opener’s manufacturer to ensure successful programming.
Step 3: Additional Programming and Troubleshooting Tips
Once you’ve successfully programmed your Sears remote with the garage door opener, there are a few additional steps you can take to enhance functionality and troubleshoot any issues that may arise.
1. Erasing Existing Codes: If you’re replacing an existing remote or encountering interference, you may need to erase the previously programmed codes. To do this, locate the Learn button on the opener and press and hold it until the indicator light turns off. This resets the opener’s memory and clears all programmed codes. You can now follow the programming steps mentioned earlier to reprogram your new Sears remote.
2. Battery Replacement: If your Sears remote is not functioning correctly or the range is significantly reduced, it may be time to replace the batteries. Open the battery compartment on the back of the remote, remove the old batteries, and replace them with fresh ones. Ensure the batteries are inserted correctly, paying attention to the positive and negative terminals.
3. Range Extension: If you’re experiencing limited range with your Sears remote, consider installing a range extender or a repeater. These devices amplify the signal, allowing you to control your garage door from a greater distance. Consult your garage door opener’s manufacturer or a professional for compatibility and installation guidance.
Conclusion:
Programming a garage door opener with a Sears remote is a relatively straightforward process that can greatly enhance the functionality and convenience of your garage door system. By following the step-by-step instructions provided by your opener’s manufacturer and utilizing the tips mentioned in this guide, you can successfully program your Sears remote and enjoy seamless access to your garage. Remember to consult your opener’s manual or contact the manufacturer for specific instructions or troubleshooting assistance if needed. Happy programming!
Key Takeaways: How to Program a Garage Door Opener with a Sears Remote?
- Make sure your garage door opener is compatible with a Sears remote.
- Locate the “Learn” button on your opener and press it.
- Within 30 seconds, press and hold the button on your Sears remote you want to program.
- Release the button once the lights on the opener blink or the door moves.
- Test the remote by pressing the programmed button to open or close the garage door.
Frequently Asked Questions
Here are some commonly asked questions about programming a garage door opener with a Sears remote.
1. Why is it necessary to program a garage door opener with a Sears remote?
Programming your garage door opener with a Sears remote allows you to conveniently operate your garage door from the comfort of your vehicle. This eliminates the need to manually open and close the door each time you enter or leave. With a Sears remote, you can easily control your garage door without the hassle of getting in and out of your car.
Additionally, programming your garage door opener with a Sears remote enhances the security of your home. Using a secure, rolling code technology, Sears remotes ensure that only your remote signal can open the garage door, preventing unauthorized access.
2. How do I program my Sears remote to my garage door opener?
The process of programming a Sears remote to your garage door opener may vary depending on the specific model, but generally, it involves the following steps:
First, locate the “Learn” or “Smart” button on your garage door opener motor unit. Press and release this button to put your opener in programming mode. Next, within 30 seconds, press and hold the desired button on your Sears remote until the opener’s lights blink or you hear a clicking sound. This indicates that the programming was successful. Finally, press the programmed button on the remote to test and operate your garage door opener.
3. Can I program multiple Sears remotes to one garage door opener?
Yes, you can program multiple Sears remotes to one garage door opener. To do so, follow the programming instructions provided by your garage door opener manufacturer. Typically, the process involves pressing the “Learn” or “Smart” button on the motor unit, then pressing and holding the desired button on each remote. Afterward, test each remote by pressing its button to operate the garage door opener.
Keep in mind that the number of remotes that can be programmed may vary depending on the model of your garage door opener. Refer to the owner’s manual or contact the manufacturer for specific instructions on how many remotes can be programmed to your garage door opener.
4. How can I reset the programming of my Sears remote and garage door opener?
To reset the programming of your Sears remote and garage door opener, you can perform a factory reset. Typically, this involves pressing and holding a specific button on the garage door opener motor unit for a certain duration, usually about 10 seconds. Refer to your garage door opener’s manual for the exact steps to perform a factory reset.
It’s important to note that performing a factory reset will erase all programmed remotes, keypads, and other accessories associated with the garage door opener. After the reset, you will need to reprogram your Sears remote and any other devices you wish to use with the opener.
5. What should I do if my Sears remote is not working after programming?
If your Sears remote is not working properly after programming, try the following troubleshooting steps:
First, check that the batteries in the remote are fresh and properly installed. Weak or dead batteries can prevent the remote from functioning correctly. Second, ensure that you followed the programming instructions correctly. It’s possible that a mistake was made during programming. Double-check the steps and try programming the remote again.
If the remote still does not work, there may be an issue with the garage door opener itself. Check for any visible problems with the motor unit or consult the troubleshooting section of your garage door opener’s manual for further assistance. In some cases, it may be necessary to contact a professional garage door technician for repairs.
Summary
So, here’s what we’ve learned about programming a garage door opener with a Sears remote:
First, make sure your garage door opener has a learn button. Then, locate the button and press and release it. Next, press and hold the button on the remote until the opener’s light flashes. Finally, test the remote to see if it’s working by pressing the button to open or close the garage door. Remember, this process may vary depending on the model of your garage door opener, so it’s always best to consult the manual for specific instructions.
In conclusion, programming a garage door opener with a Sears remote is not too complicated. Just follow the steps and consult the manual if needed. Soon enough, you’ll be opening and closing your garage door with ease!