Having trouble figuring out how to program a garage door opener with a multi-button remote? Don’t worry, we’ve got you covered! In this guide, we’ll walk you through the step-by-step process to make it super easy for you. So grab your remote and let’s get started!
Programming a garage door opener with a multi-button remote may seem daunting at first, but fear not! We’ll break it down into simple and easy-to-follow instructions. By the end of this guide, you’ll be a pro at programming your garage door opener.
Whether you’re a beginner or just need a refresher, we’re here to help. So let’s dive in and discover how you can easily program your garage door opener with a multi-button remote. Let’s get ready to open those doors with a simple click!
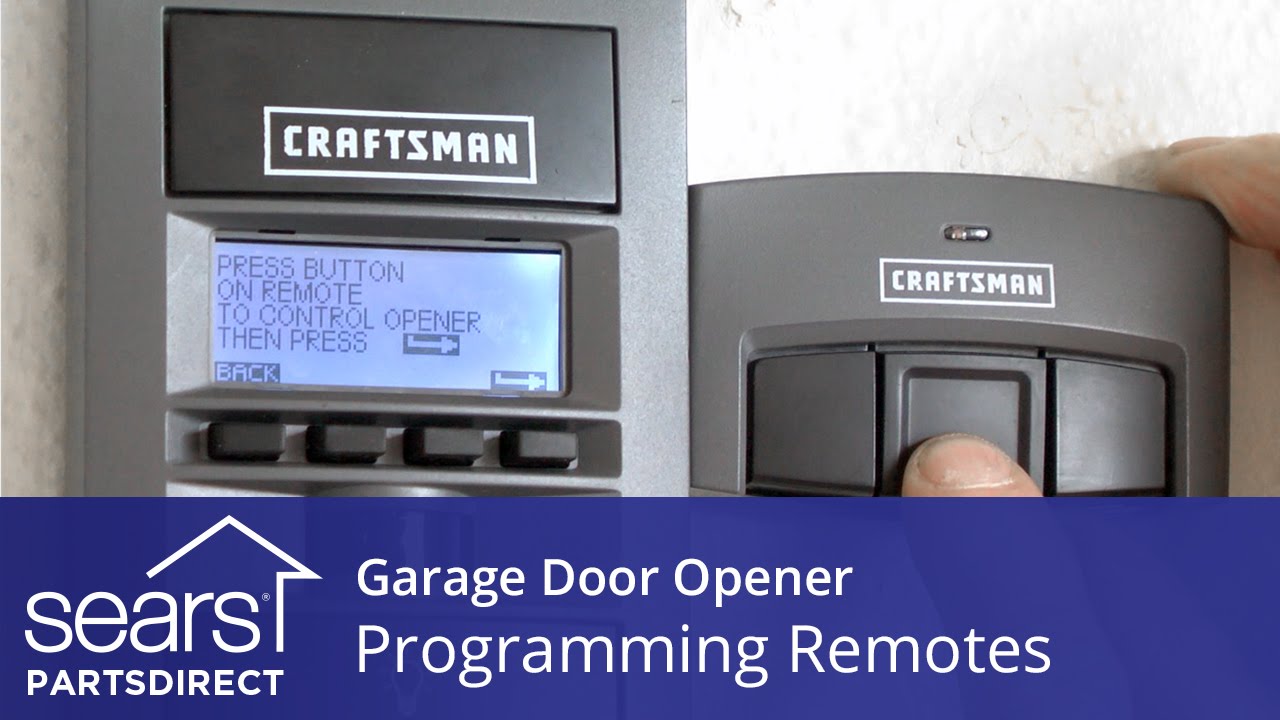
- Locate the “Learn” or “Program” button on your garage door opener.
- Press and release the “Learn” button, then a light should turn on.
- Within 30 seconds, press and hold the button on your remote that you want to program.
- Release the button when the light on the garage door opener blinks or the opener clicks.
- Test the remote by pressing the button to open or close the garage door.
Note: Ensure to use the correct instructions for your specific garage door opener model.
How to Program a Garage Door Opener with a Multi-Button Remote: A Step-by-Step Guide
Have you ever struggled with programming your garage door opener using a multi-button remote? Don’t worry, you’re not alone. Many people find the process confusing and frustrating. But fear not, because in this article, we will walk you through the step-by-step process of programming your garage door opener with a multi-button remote. By following these instructions, you’ll be able to effortlessly operate your garage door using the convenience of a multi-button remote control.
Understanding the Basics of Programming a Garage Door Opener
Before we dive into the specifics of programming a garage door opener with a multi-button remote, it’s important to understand the basics of how these systems work. A garage door opener is designed to receive signals from a remote control device and operate the door accordingly. The process of programming involves syncing the remote control transmitter with the receiver in the garage door opener. The transmitter sends a unique code to the receiver, allowing it to recognize and respond to the remote control commands.
Step 1: Accessing the Garage Door Opener’s Control Panel
The first step in programming your garage door opener with a multi-button remote is to locate and access the control panel of the opener. This panel is typically found on the back or side of the main unit. Once you’ve located the control panel, remove the cover to expose the programming buttons.
Step 1a: Identifying the Programming Button
Most modern garage door openers have a specific button that is dedicated to programming. Look for a button that is labeled or marked in some way. It may be labeled as “Learn,” “Smart,” or have a specific symbol indicating its function.
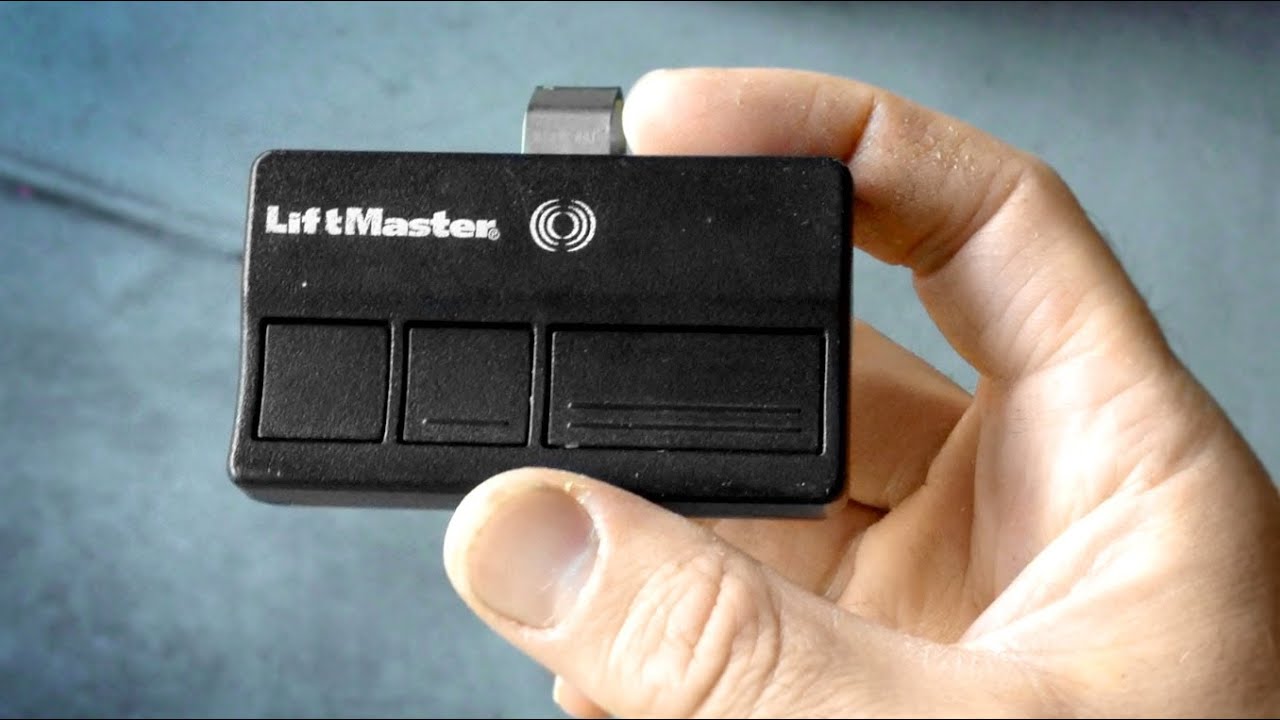
Step 1b: Preparing the Remote Control
Before you can begin programming, it’s important to prepare the multi-button remote control. Start by removing the cover of the remote to access the internal circuit board. Look for a set of small switches or buttons on the board. These switches, also known as DIP switches, need to be set to a specific pattern to match the receiver in the garage door opener.
Step 1c: Matching the DIP Switches
To match the DIP switches, consult the owner’s manual of your garage door opener or the instructions provided with the multi-button remote. Each switch can be set to either the “On” or “Off” position, creating a unique code. Make note of the specific pattern required to match the opener. Use a small tool, such as a screwdriver, to set the switches accordingly.
Step 1d: Closing the Control Panel
After setting the DIP switches on the remote control, it’s time to close the control panel of the garage door opener. Ensure that all the switches and wires are neatly tucked inside, and securely attach the cover. This will protect the components from dust and interference, ensuring smooth operation of the opener.
Step 2: Initiating the Programming Mode
Now that you’ve prepared the remote control and closed the control panel, it’s time to initiate the programming mode on the garage door opener.
Step 2a: Pressing the Programming Button
To start the programming mode, press and hold the programming button on the garage door opener’s control panel. The button may need to be held for a few seconds before the opener enters the programming mode. Look for a light or indicator that confirms the programming mode has been activated, such as a blinking LED.
Step 2b: Activating the Remote Control
With the opener in programming mode, it’s time to activate the remote control. Press and hold the desired button on the multi-button remote until you see a response from the opener. This response could be an audible click or a visual signal, such as a blinking light on the opener.
Step 2c: Testing the Connection
After pressing the button on the remote control, test the connection by pressing the same button again. The garage door should respond by opening or closing, indicating that the programming was successful. If the door does not respond, repeat steps 2a and 2b, ensuring that the remote control is within range of the opener.
Step 3: Programming Additional Buttons
If your multi-button remote has additional buttons that you would like to program for other garage doors or devices, follow these steps:
Step 3a: Initiating Programming Mode Again
To program additional buttons, initiate the programming mode on the opener by following step 2a again.
Step 3b: Activating a Different Button
Once the opener is in programming mode, press and hold a different button on the remote control. Again, wait for a response from the opener and test the connection to ensure successful programming.
Step 3c: Repeat as Needed
Repeat step 3a and 3b for each additional button you wish to program. Be sure to test the connection after each programming attempt to ensure proper functionality.
By following these step-by-step instructions, you will be able to successfully program your garage door opener with a multi-button remote. This will bring convenience and ease to your daily routine, allowing you to effortlessly operate your garage door without the need to manually open or close it. Enjoy the effortless functionality and peace of mind that comes with a properly programmed garage door opener.
Key Takeaways: How to program a garage door opener with a multi-button remote
- Make sure your garage door opener is compatible with a multi-button remote.
- Locate the programming button on your garage door opener and press it.
- Press and hold the button on your remote that you want to program for a few seconds.
- Release the button on the remote, and the opener should learn the signal.
- Test the remote by pressing the programmed button to open or close the garage door.
Frequently Asked Questions
Programming a garage door opener with a multi-button remote can seem complicated, but it’s actually quite straightforward. Here are some common questions and answers to help you navigate the process with ease.
1. How do I program a garage door opener with a multi-button remote?
To program a garage door opener with a multi-button remote, start by locating the “learn” or “smart” button on your garage door opener motor. Press and release this button, then within 30 seconds, press and hold the button on the remote that you want to program. Release the button when the motor’s lights flash or you hear a clicking sound. This indicates that the programming was successful. Test the remote by pressing the button to ensure it opens or closes the door.
Note: The exact steps may vary depending on the brand and model of your garage door opener, so it’s always best to consult the manufacturer’s instructions for specific guidance.
2. Can I program multiple garage door openers to a single multi-button remote?
Yes, you can program multiple garage door openers to a single multi-button remote. To do this, follow the programming instructions for each garage door opener individually. Start by programming the first opener to the desired button on the remote using the steps provided by the manufacturer. Then, repeat the process for each additional opener, assigning them to different buttons on the remote. Once programmed, you can use the remote to operate all the programmed garage door openers simultaneously or individually, depending on your needs.
This feature is convenient if you have multiple garage doors or if you want to control a neighbor’s garage door with their permission.
3. How do I erase the programming of a multi-button remote for a garage door opener?
If you need to erase the programming of a multi-button remote for a garage door opener, you can typically do so by following a simple process. Find the “learn” or “smart” button on the garage door opener motor and press and hold it until the indicator light turns off, usually about 15-20 seconds. This resets the opener and erases all previously programmed remotes from its memory. Afterward, you can reprogram the remote according to the manufacturer’s instructions to regain control of your garage door opener.
Remember to consult your garage door opener’s manual or contact the manufacturer for specific instructions on how to erase programming for your particular model.
4. What if I can’t find the “learn” or “smart” button on my garage door opener?
If you’re unable to locate the “learn” or “smart” button on your garage door opener, check the owner’s manual for its exact location. In some cases, the button might be hidden or labeled differently. If you can’t find the manual, try searching the manufacturer’s website for a digital version. It’s important to avoid randomly pressing buttons on the opener, as this could result in unintended consequences or even damage to the system.
If all else fails, contacting the manufacturer’s customer support or a professional garage door technician can help you locate the button or provide alternative methods for programming your garage door opener.
5. I followed the programming steps, but my multi-button remote still doesn’t work. What should I do?
If you’ve followed the programming steps for your multi-button remote and it still doesn’t work, there are a few troubleshooting steps you can take. First, ensure that the battery in the remote is correctly inserted and has enough power. Replace the battery if necessary. Next, make sure the remote is within the range of the garage door opener. Stand closer to the opener and try again.
If the issue persists, check for any obstructions that might be blocking the signal between the remote and the garage door opener. Additionally, verify that the opener’s antenna is properly extended and not damaged. If these steps don’t resolve the problem, consult the manufacturer’s troubleshooting guide or contact their customer support for further assistance.
Summary
So, to quickly sum it all up, programming a garage door opener with a multi-button remote is actually quite simple. First, locate the learn button on your garage door opener and press it. Then, within 30 seconds, press and hold the button on your remote that you want to program. Finally, release both buttons, and voila! Your remote is now programmed to open and close your garage door. And remember, if you ever need to add or delete a remote, you can always consult your garage door opener’s instruction manual for specific steps.
In conclusion, don’t let the idea of programming a garage door opener with a multi-button remote overwhelm you. With a few easy steps, you’ll be able to control your garage door with just the touch of a button. Happy programming!